Expert Tips for Beginners on Using a Stained Glass Grinder –
If you are a glass artist or hobbyist, having a stained glass grinder is beneficial to have in your studio to make your glass pieces appear polished and professional. Whether you are a beginner or an experienced glass artist, a few extra tips may benefit your glass grinding experience.
Before the grinding process, always remember that safety comes first! The stained glass grinder is an electric powered machine as you should be aware of any electrical hazards. To reduce the risk of any hazards, it’s important to keep your studio clean and to remember to clean up after every glass project.
Protect yourself by wearing appropriate eye protection like safety glasses or goggles. Many stained glass grinders come with a face/eye shield to protect you from any glass particles that may become airborne in the grinding process. The eye protection and the face/eye shield may protect you from not only small glass pieces but also dust as it can irritate your eyes if in contact.

Along with eye protection, don’t forget your fingers as they are positioning the glass in close proximity to the grinding head. Also, try to void picking up pieces of glass on the inner edge as there can be small sharp edges where the glass has been cut. If not aware of those sharp edges, you could easily scrape your fingertips. Finger guards or protectors can be purchased at almost every craft store and used for different activities like knitting and sewing. You can also make finger protectors out of sturdy tape if you have some at home. It’s important you protect your thumbs and index fingers as those are the fingers typically used when grinding.
Another tip when using a stained glass grinder is to first experiment with leftover glass before grinding your main glass piece. By grinding leftover or old pieces of glass first, you will get a feel for how well the glass grinder and grinder bit work on the glass used. Remember to select the grit which corresponds to the type of glass (i.e. antique glass). Practice any shapes you will have to make on your glass piece. Keep in mind that glass can vary from thickness, quality, texture, and shape so it’s beneficial to adjust your process before every stained glass project. For example, if the glass you’re practicing with is more fragile than the main piece you want to grind, adjust your process by applying less or more pressure to the main piece to achieve desired effect.
A tip that many experienced glass artist share is how important the direction of the glass is facing in comparison to the grinding bit. On most stained glass grinders, the grinding bit usually rotates counter clockwise. It’s beneficial to grind your glass in the opposite direction by pushing your glass clockwise for a deep cut in the glass. If you are making small changes or touches to the glass piece, push the glass clockwise or the same direction the grinder bit is going. Always keep an eye on your grinding bit as well. Having a new grinding bit can enhance your grinding experience unlike a dull bit that could potentially chip your glass piece. Make sure you know what type of grinding bit to use on your glass whether it’s a Fine, Ultra Fine, Rapid, or Standard grit bit. Different types of grinding bits require different amounts of pressure to apply to the glass. That is why it’s important to experiment with a leftover piece of glass first.
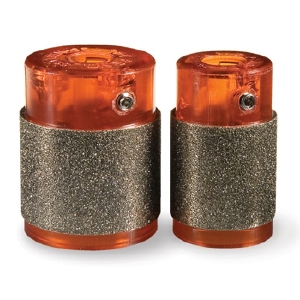
Rapid Grit
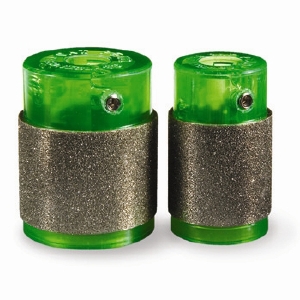
Standard Grit
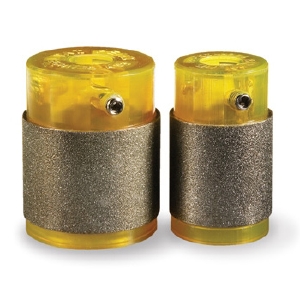
Fine Grit
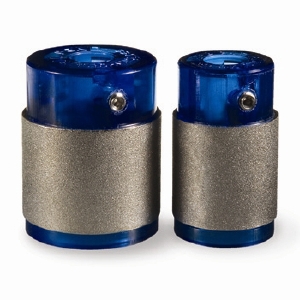
Ultra-fine Grit