FEATURES
SOPHISTICATED DESIGN with UNSURPASSED ACCURACY
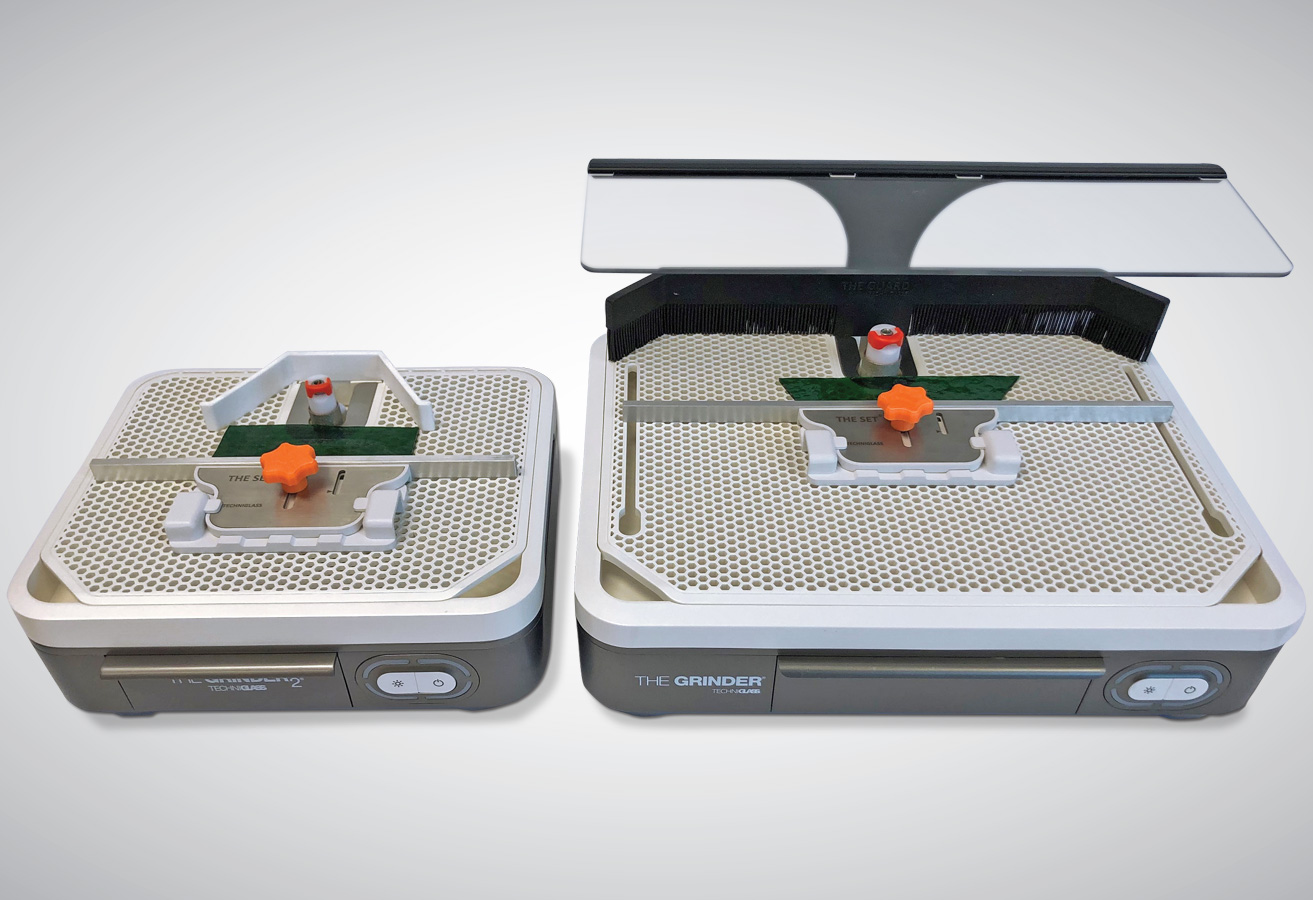
- The SET Straight Edge Tool perfectly aligns atop THE GRINDER , THE GRINDER 2, and THE GRINDER 3 work surface, enabling glass to easily slide between the grinding bit and the straight edge guide bar
- Precisely grind rectangle and square shaped glass to your desired dimensions
- Finish your pieces with confidence and accuracy
| Item Number | Description |
| G1S-SET | Straight Edge Tool for THE GRINDER |
| G2S-SET | Straight Edge Tool for THE GRINDER 2 AND THE GRINDER 3 |
INSTALLATION & USE
1.
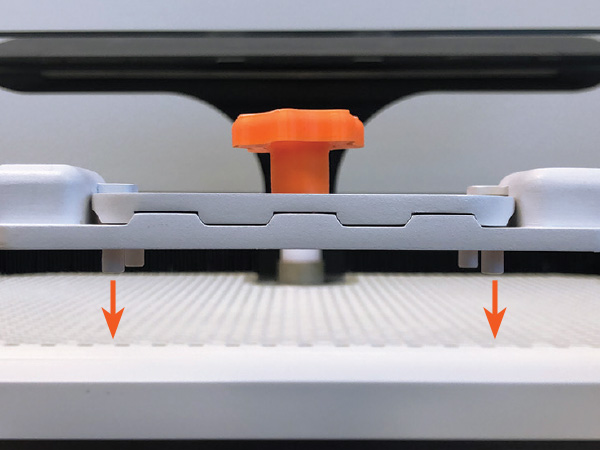
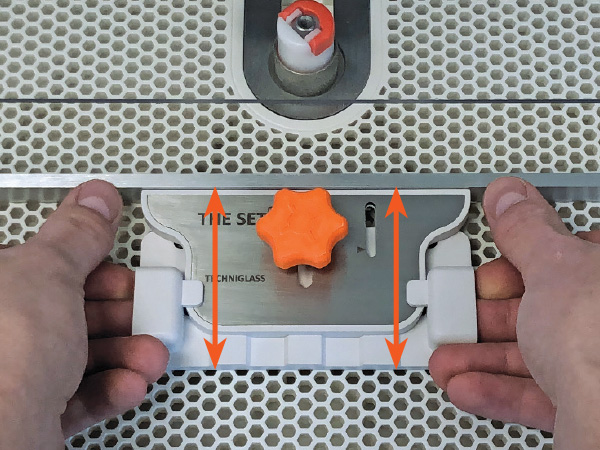
Turn off Grinder. Center THE SET horizontally across the Lift Grid, in-line with the grinding bit.
2.
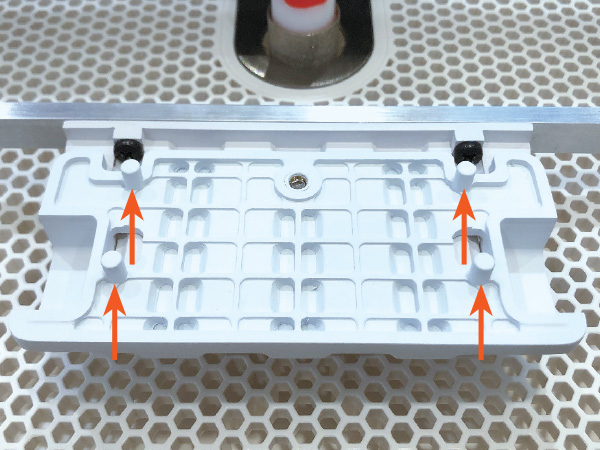
Place the Positioning Pins (on the underside) into the Lift Grid holes.
3.
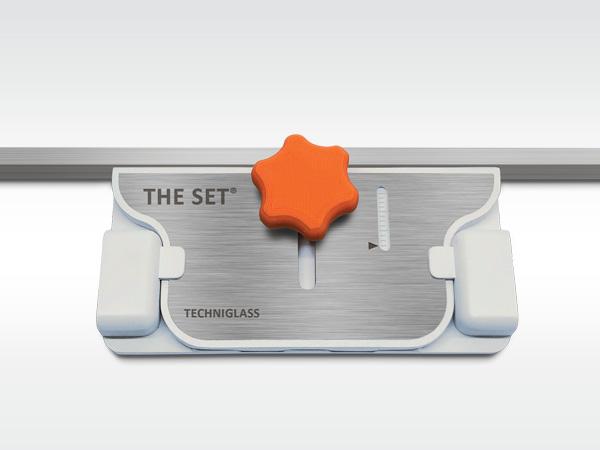
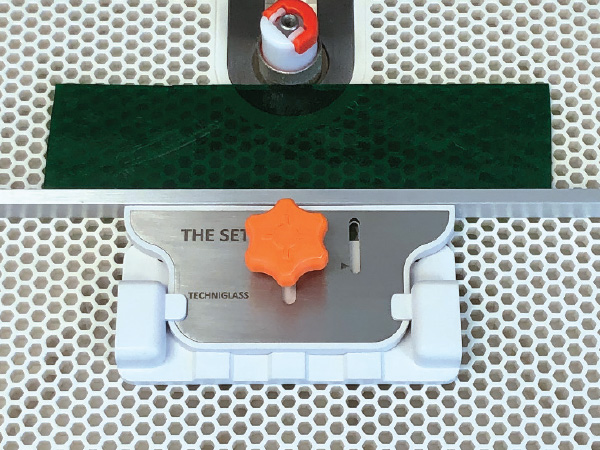
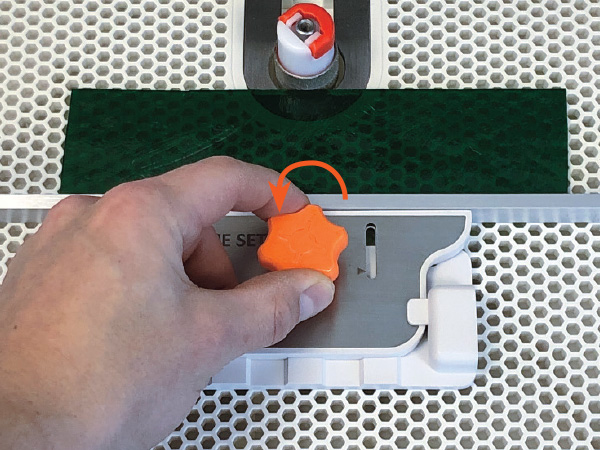
Loosen the Adjustment Knob counter clockwise and slide the Adjustable Plate to desired location.
4.
Place glass flush against the aluminum bar. Slide the Adjustable Plate until the glass makes contact with grinding bit.
5.
When Adjustable Plate is in desired location, tighten the Adjustment Knob by turning clockwise unit it locks. Remove glass piece. Turn on Grinder.
6.
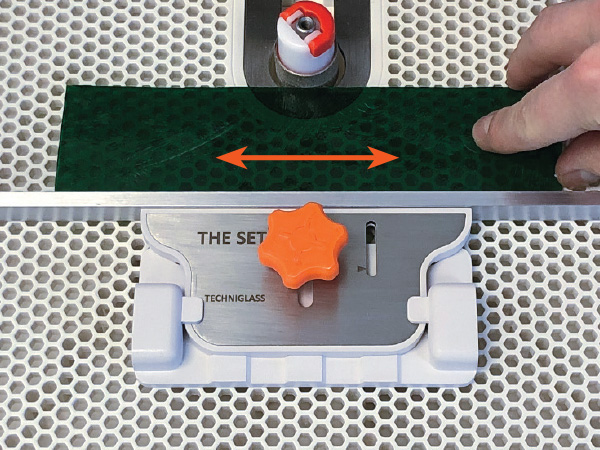
Place glass flush against aluminum bar and grind moving glass from right to left.

