How to Clean My Grinder –
It’s imperative to care of your stained glass grinder, as it is a valuable tool for creating your stained glass work. THE GRINDER is the premier tool to satisfy all your needs and will sustain through all your cherished projects. If properly cared for, the glass grinder can last for many years to come.
In this article, we outline key ideas to keep in mind while taking care of your stained glass grinder. THE GRINDER is an electronically complex machine that requires regular maintenance to maintain peak performance. Just like any other tool you purchase, it is important to read the instruction manual and abide by the manufacturers maintenance directions prior to use for your own safety. You should always use a properly grounded 3-prong outlet with THE GRINDER. You should always use caution when filling or draining water to and from the water tray.
As with any grinder, you should ALWAYS use eye protection when grinding. This protects your eyes from minute glass particles that may be projected from the grinder. You may also wish to consider using gloves during the grinding process. Gloves protect your hands from becoming scratched or scraped by the glass during grinding. Be sure to find gloves that fit well and allow you to still feel the shape of the glass.
Keeping your glass grinder on a flat and level surface ensures that the machine functions at an optimal level for grinding. Remember to keep your grinding area neat and orderly as well as your studio to ensure best practices. Remember to clean any accessories that may become dirty by wiping with a lightly damp cloth. This can help increase the longevity of the parts.
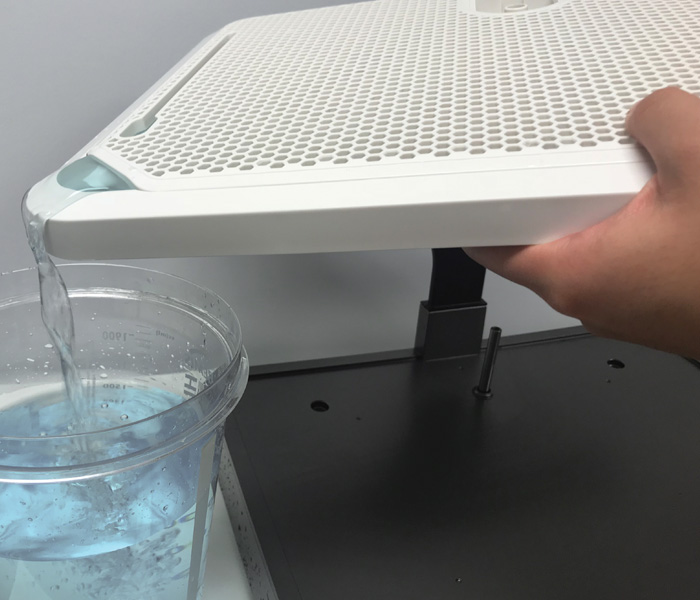
To disassemble your glass grinder safely, begin by powering off the light and motor using the buttons on the front face of THE GRINDER. Next, remove the grinding bit. Then, remove the Lumishield and Splash Guard. Be sure to lift straight up. Completely empty the water tray then clean any remaining glass debris with dish soap and a soft cloth or brush.
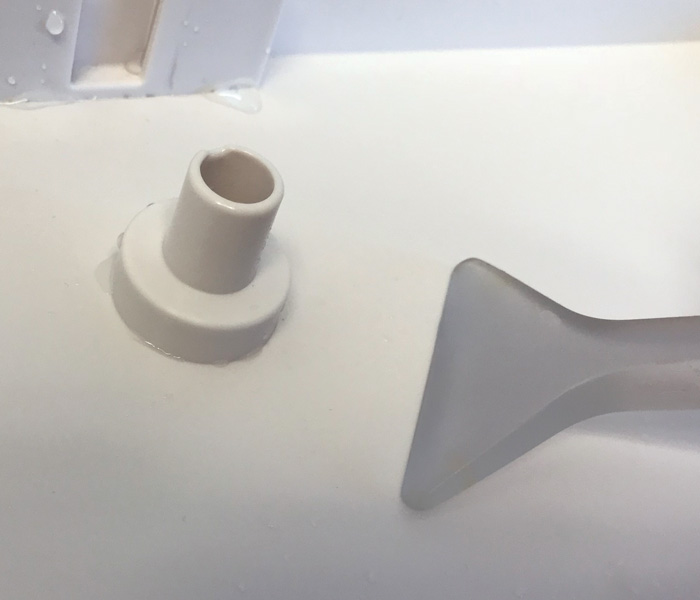
It’s important to periodically clean your water tray so that you can avoid glass particles from building up near the shaft, you should clean whenever you are finished with your glass project for the day or as deemed necessary. You can use the convenient scraper tool with brush insert to loosen glass material from the bottom of the tray. Be sure the Aqua Flow System has been removed as over time, glass particles can also build up underneath this tool.
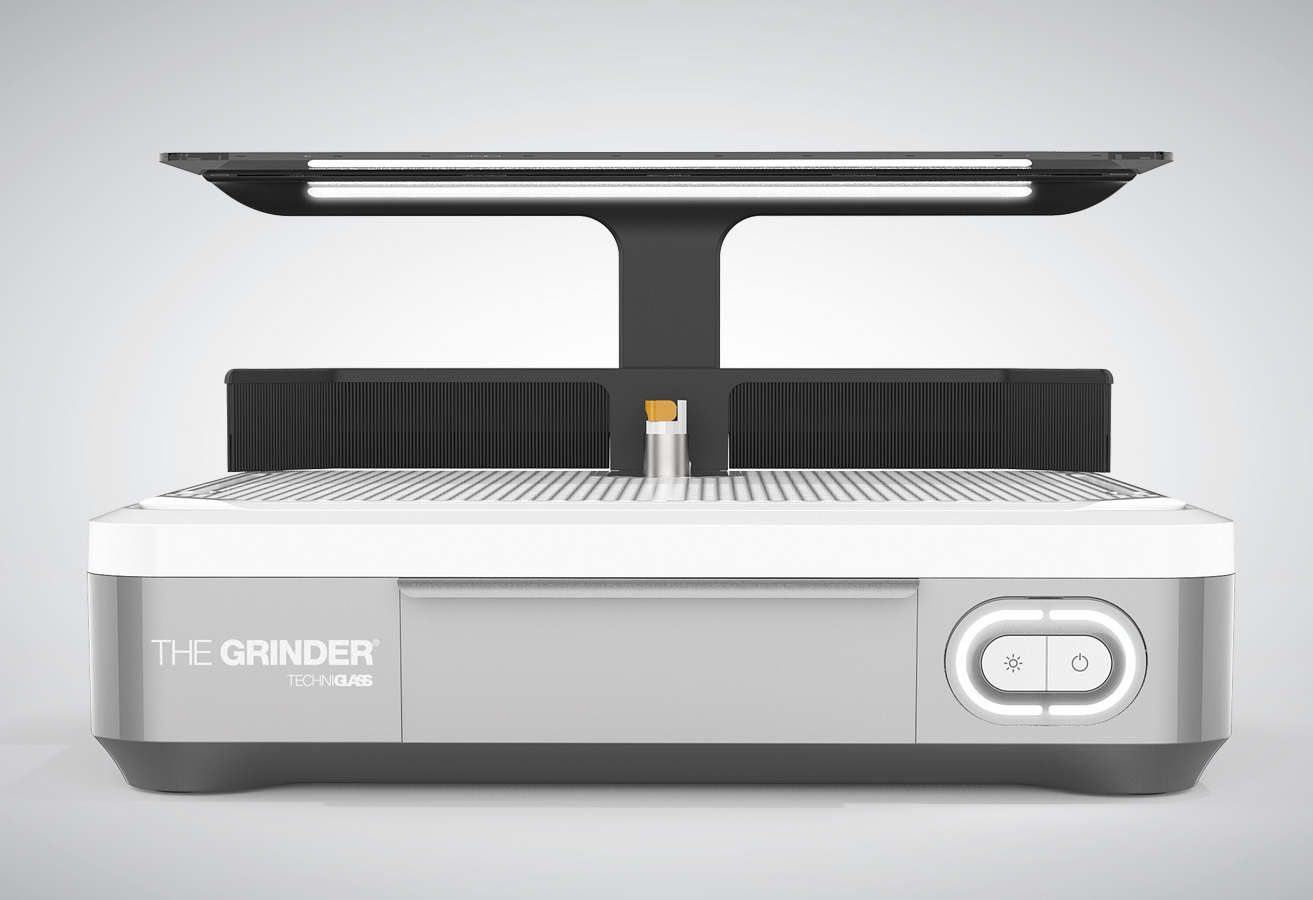
A unique feature of THE GRINDER is its removable water tray. The underside of the tray grid is equipped with the Water Wave Stabilizer to help balance water preventing spillage during transport. Unlike other grinders which require the entire glass grinder to be carried to the sink, only the convenient removable water tray of THE GRINDER needs removal. There is no need to carry the entire grinder and risking spillage onto the floor or other surfaces.
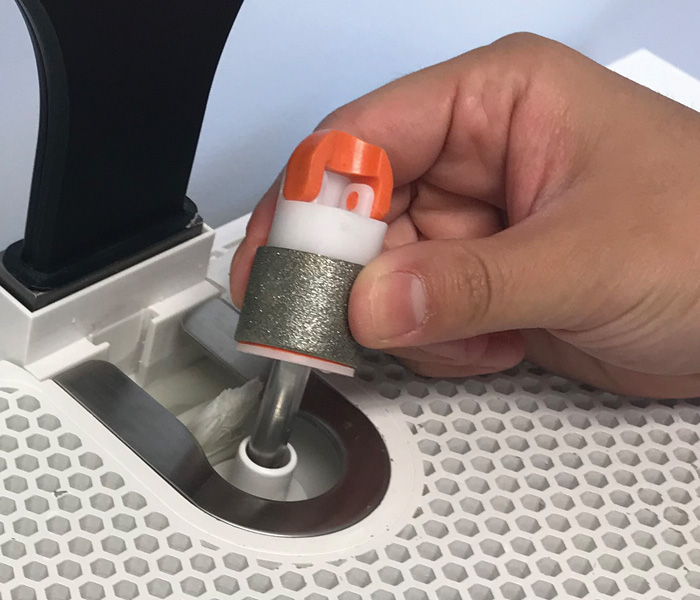
For small intricate glasswork, you will utilize the Mini G Elevated Work Surface. The Mini G acts as a separate, smaller grinder with its own water reservoir. The 1/4″ and 1/8” bits can be purchased separately and easily screw onto the shaft. When using the Mini G, it is imperative to remember to use the orange Shaft Water Seal. Simply remove it from the Mini G basin and slide it down the shaft BEFORE installing the Mini G onto the grid of the lower housing. Installation of this orange cap prevents water damage to the inner workings of the unit.

Water level is a key aspect to observe when filling THE GRINDER. Overfilling your glass grinder can lead to splashing and getting water damage to the inner parts of the machine.

For many years of operation with your stained glass grinder, it’s imperative to take care of your valuable machine. Remember to read the instruction manual and abide by the manufacturers maintenance directions to obtain the optimal experience from your stained glass grinder.